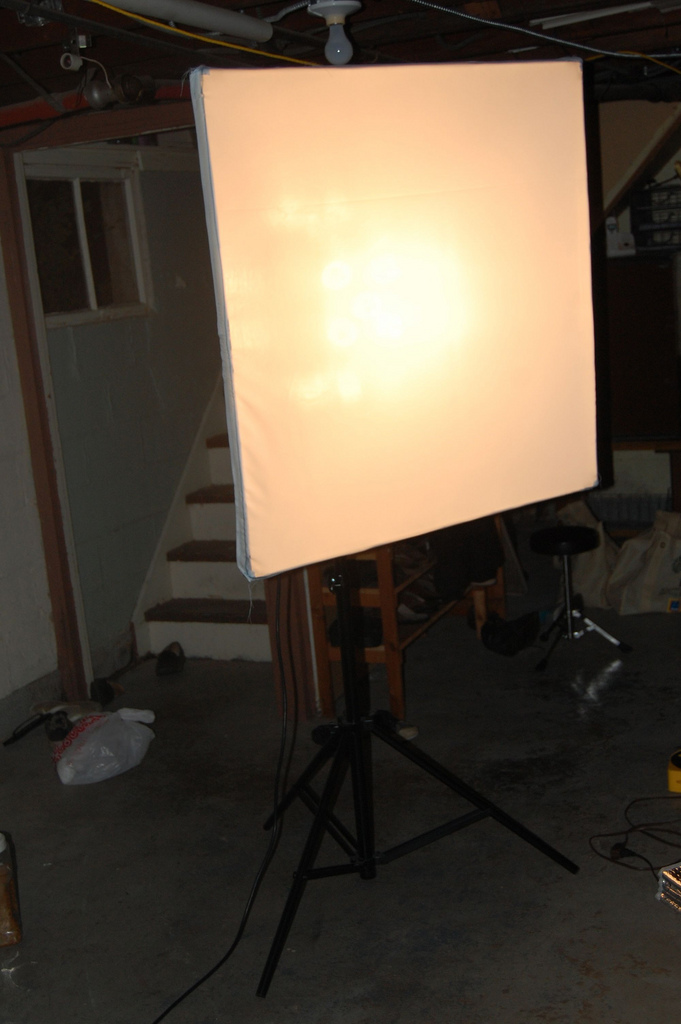
Homegrown Softbox Spiderlight
Many of you are now familiar with my photography and video fixation lately. If not, watch my latest YouTube videos and you’ll understand (while there, hit Subscribe, I’ll love you for that!) After many make shift lighting improvisations including very hot 500 watt shop lights, clamp lights and what not, I came to the conclusion that it would be really nice to have a softbox which will project a really nice soft light with no harsh shadows on the subject. So I found Alex Campagna’s home made softbox blog post and I used it as an inspiration to build mine with a couple twists.
The Bulbs Fixture
Building this unit was the easiest, since I found every part in the same isle at my local hardware store (Menards — how did they come up with that name?). I used a simple junction box that already had the 5 holes pre-punched for the five bulb sockets. I used these flexible arm sockets that lets you angle the light to where you needed, so I was able to easily distribute the 5 lights in an angled pattern. I think they are meant to be used for outside so they are pretty darn well built.
I found these 100w/each 1600 lumen and 2700 Kalvin bulbs at my local ALDI. Very bright, with very small amount of heat.
Next, I wired the bulbs in pairs (2x – 2x – 1x) so I can control them with three switches. I can turn on 2x, 2x then 1x at a time, very practical if you want to control the amount of light.
Building the box
I had the hardest time finding black corrugated plastic (aka Coroplast). The only place I found the white one was at Home Depot and Ace Hardware, so I used that one and basically spray painted it black. The dimensions of my softbox were 36″ x 36″ plus a depth of 24″. I didn’t realize at the time that it’s going to be this big. I like the size but it’s a little cumbersome to move around.
Next, I applied a layer of aluminum foil to the 4 cut sides using adhesive spray, and used a roller to form a nice even surface. I crumpled the foil before applying it to add some irregular texture, so I get a better reflection spread.
Assembling the box was quite a breeze. I used HVAC tape on the inside to pull the parts together and I used a glue gun on the outside seams. I used the black tape only to keep the parts together while I was assembling.
Next, I mounted the light assembly into the box and bolted it with two screws per side and fastened the corners with a metallick 90 degree bracket:
Was time for a nice coat of matte black spray on the outside:
I didn’t find any reasonable methods to mount the softbox on a tripod that’s usually used in lighting. I found this 5/8 inch female to 3/8 inch adaptor on ebay that did the trick!
Al I had to do is to mount this on my junction box/light assembly and I was ready to attach it to any photo tripod that has a universal attachment. The whole box assembly weighs not more than 7 Lb loaded with all 5 bulbs!
And Voila! I was ready to make some killer Stinger photos having proper illumination. Next one will be smaller than this one – maybe half of its size.


 Facebook Page
 Flickr Photos Sets
 Twitter
 YouTube Channel
 Subscribe to SGT!
