Designing Amp Faceplates

“Hey John, which one is the Volume?” said the confused guitar player starring at the amp chassis… So, you finished your amp project, sounds wicked and all that, but it sits bare naked on top of an extension cabinet or best, housed in a cabinet with Sharpie marked labels for the controls. Nice, but your amp deserves to be more elegant and sexy. After all it brews some real tone.
The Right Software
Sure, you can use whatever program you might have on hand to design faceplates like MS Paint, or even Microsoft Word (for crying out loud) but why not use certain software that gives you more control on line art, text alignment? I am designing all my faceplates, logos, T-Shirts and anything that comes to graphic design in Adobe Illustrator 8 which is a vector based program – meaning that you can theoretically scale the whole design up to where you need it without loosing the image resolution – unlike raster based programs like Photoshop or Gimp.
But you don’t have to sale your soul to buy your vector graphic editing program to design your faceplate, since you already spent your fortune on tubes, speakers, guitars and the like. In fact you won’t need to spend any money at all!! Thanks to a generous community of Open Source programmers, there is a free vector based graphic editor available called Inkscape rivaling some of the best commercial editors like Illustrator, CorelDraw, Xara X, etc.
Inkscape supports many advanced SVG features (markers, clones, alpha blending, etc.) and great care is taken in designing a streamlined interface. It is very easy to edit nodes, perform complex path operations, trace bitmaps and much more. We also aim to maintain a thriving user and developer community by using open, community-oriented development.
Hey, that’s good enough for me, simple and humble guitar amp builder!

Inkscape can really do all (an beyond) you need to make a very attractive faceplate (or rear plate!). It has a logical interface, you will not have to spend hours to learn how to use it, plus, there are tons of Inkscape tutorials and videos available showing you the first steps. Here is one about manipulating text:
BNP Lasers
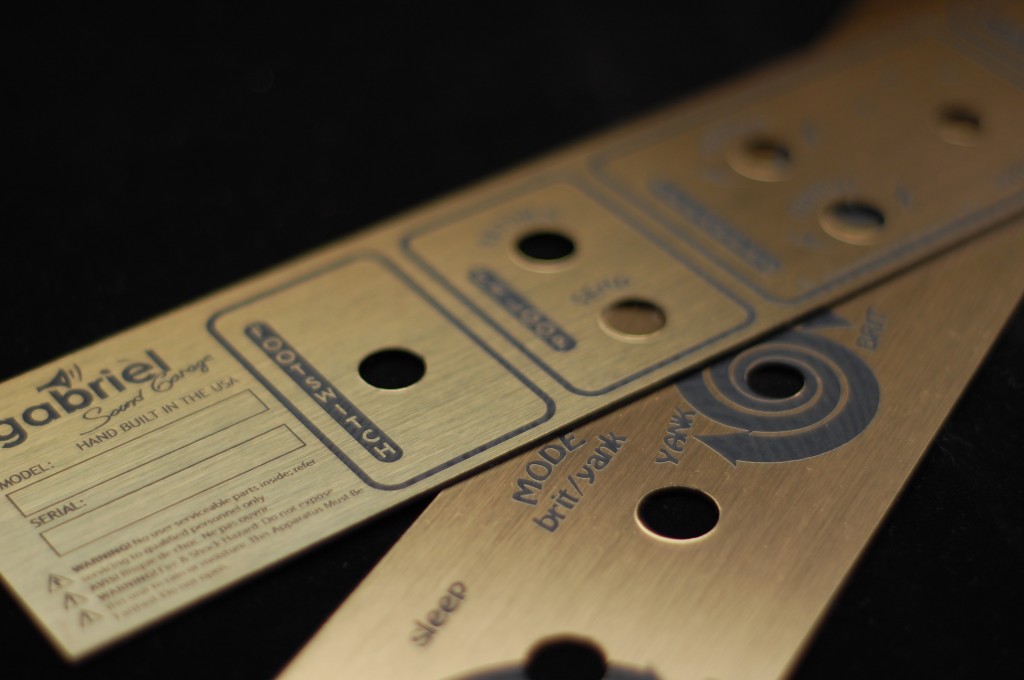
Ladies and gentleman please welcome the most amp friendly laser company on Earth, BNP Lasers and its friendly and knowledgeable owner Jeanne Kangas! I’ve been making my faceplates, rear plates and logos at BNP Lasers for the past 8 years since I started building amps. In fact I still have the first set of plates that are on my First Born amp (an 18watt clone) which starts gaining some “vintage” value as time is passing.
I usually send Jeanne my work as an Illustrator file, but pdf would work as well. Only make sure before saving your Inkscape file as a pdf, to convert all text to path using Path->Object to Path command (Shift+Ctrl+C) while your text is selected, otherwise you will have to send Jeanne the fonts you used as well. You can choose several materials that would make killer amp faceplates like the reverse engraveable transparent plexi that looks like the real thing, or surface engraveable plastics, or Alumamark anodized aluminum of several different background colors I use for the small serial plates I attach on the back of my amps.
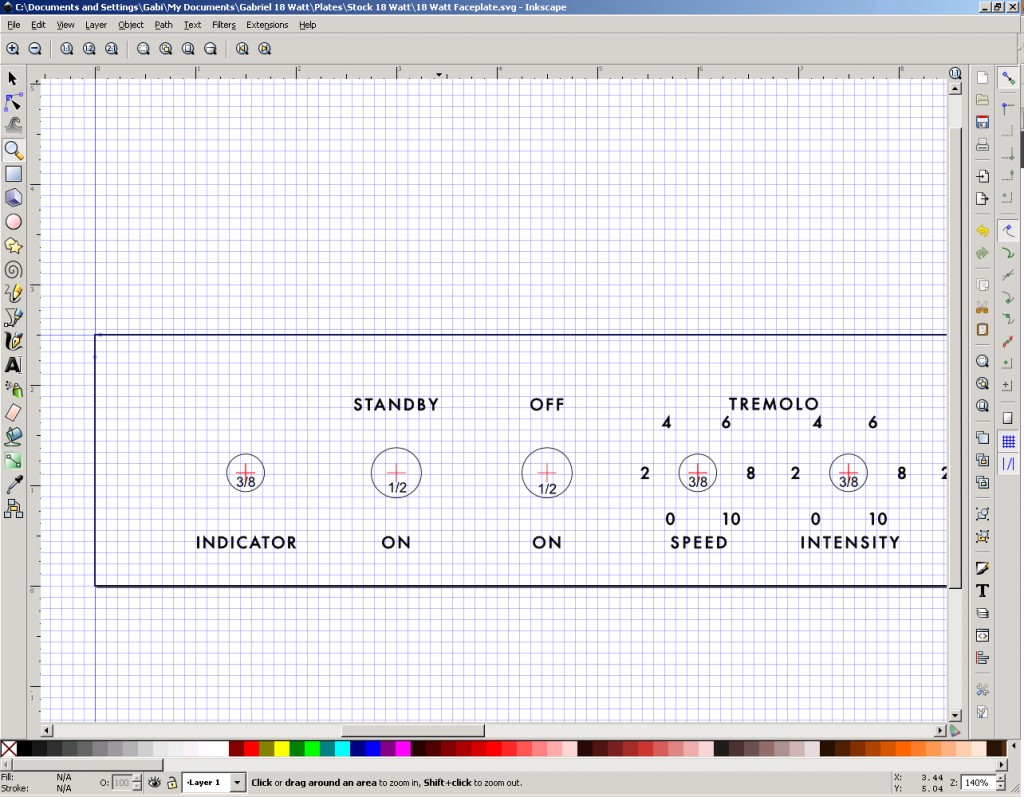
As a start, here is my version of the 18w clone faceplate Inkscape format (svg file)so you don’t have to start with a blank canvas which can be intimidating. The dimensions are 18″L x 2.50″H and the holes layout matches exactly the holes in the stock 18w chassis. The text can be moved around or replaced with your text and labeling. Go over the image below, right click and choose Save Link As… This will save it in the svg file format.
So, now you’ll have no excuses in using sharpies on your bare chassis to label your controls. Your amp should look at least as good as it sounds! Let your creativity run wild when it comes to labeling and faceplate design. Try to break out of the regular informational mindset that and come up with some cool designs for your amp!


 Facebook Page
 Flickr Photos Sets
 Twitter
 YouTube Channel
 Subscribe to SGT!
